Hello Everyone,
Today I wanted to show you how to make two quick sympathy greeting cards.
Can you believe it? Two weeks have already flown by since my last blog post! March has absolutely whizzed past, and I can hardly believe that next Tuesday is April, meaning we’re already a quarter of the way through 2025. Where does the time go?
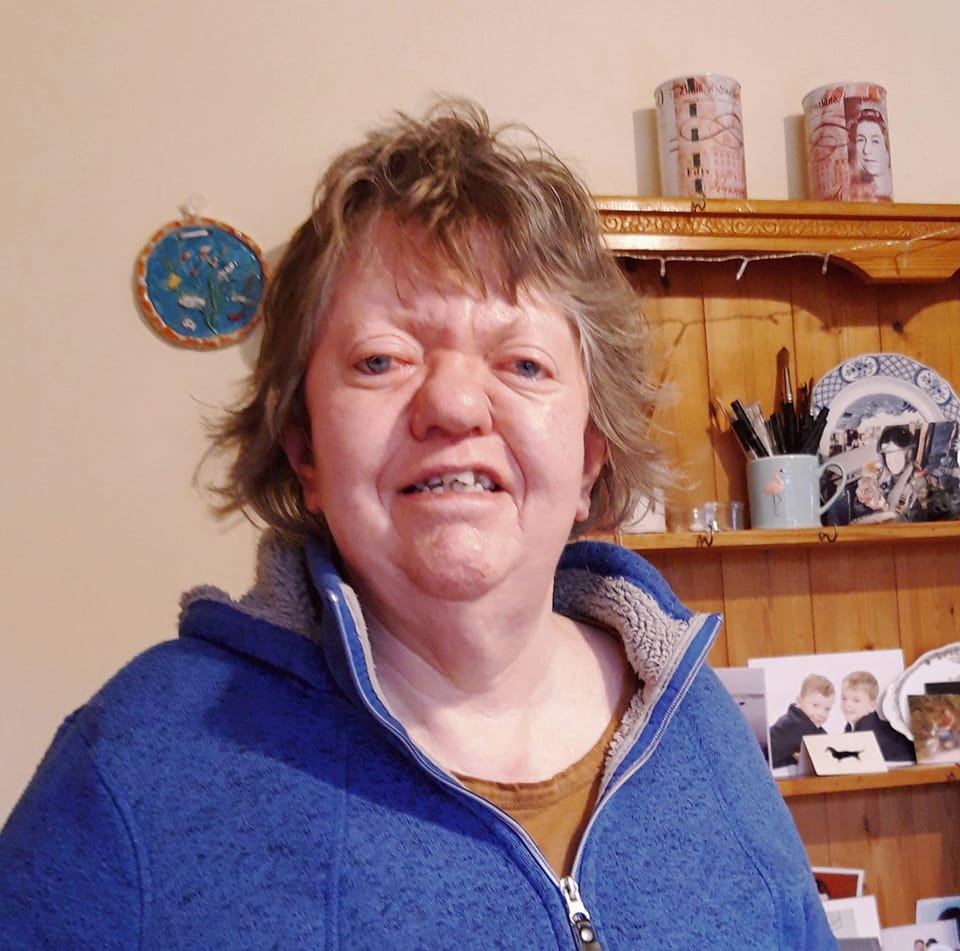
I must say, I’m loving this time of year — seeing all the spring bulbs popping up is such a joy, and the longer, warmer days have been a real treat. We’ve had lots of sunny days lately, which means Herbie and I have been out having plenty of adventures. Today, we took Mum out and went to a garden centre and came home with some lovely new plants. Herbie, as always, kept me laughing — every time I dug a hole for a plant, he just had to roll on it and help with some extra digging. He really is the best little garden helper (or maybe mischief-maker)!
Herbie

I don’t know about you, but I always find sympathy cards the hardest to make. They need to be gentle, thoughtful, and comforting — and sometimes it’s hard to find just the right combination of elements to express that.
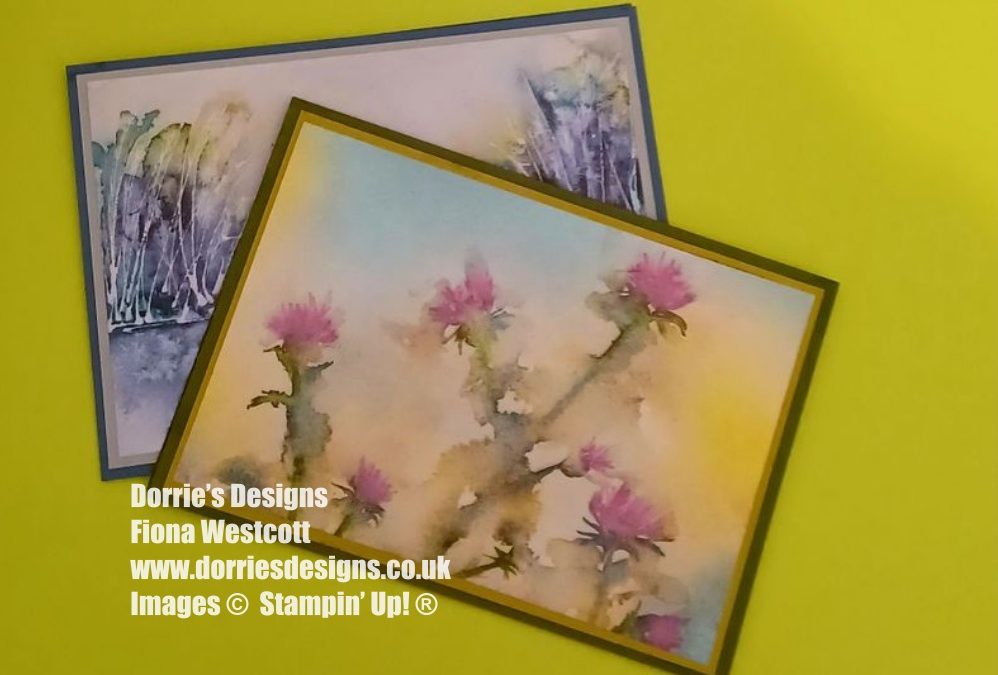
This week, I needed to make two sympathy cards, so I thought I would share with you how I created them.
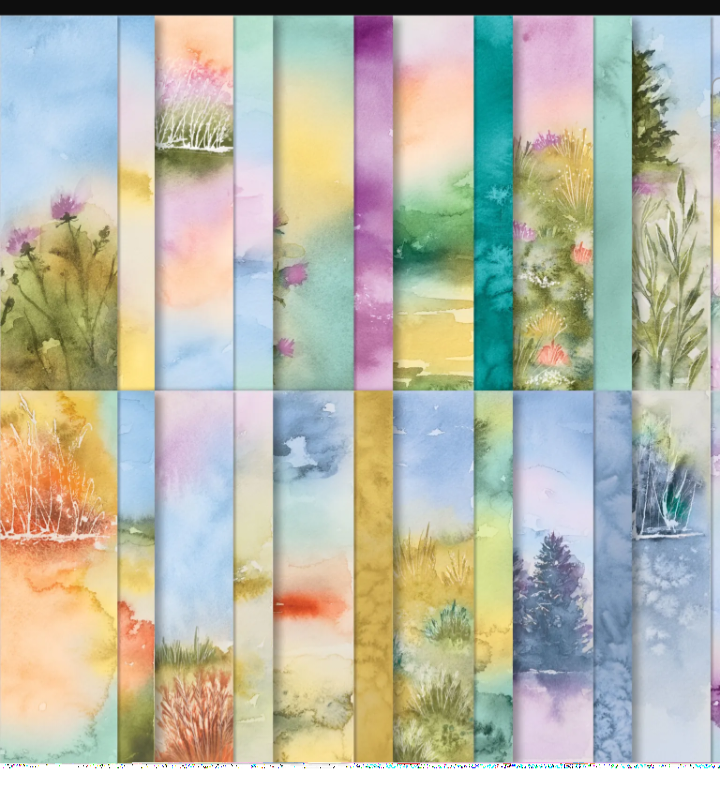
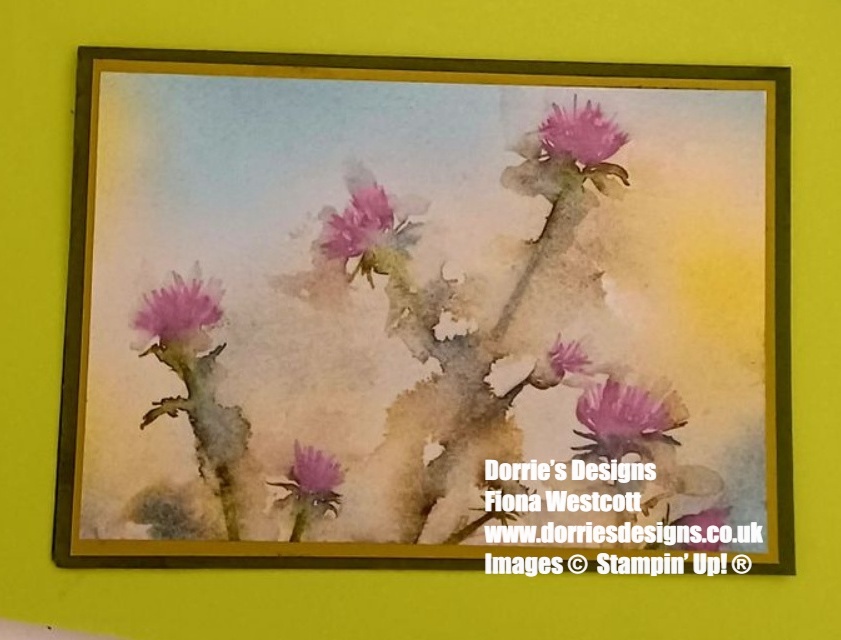
I turned to one of my absolute favourite patterned papers — Thoughtful Journey from Stampin’ Up! It’s full of beautiful scenic designs that work for so many occasions including birthdays, anniversaries, thinking of you, just to say hello — and, of course, sympathy cards. I’m so happy it’s carrying over into the new 2025/2026 annual catalogue because I just love working with it.
I used this paper as the feature for both of my card designs today. It really does so much of the work for you — the soft colours and delicate landscapes are perfect for creating a calm, thoughtful card.
Thoughtful Journey patterned paper from Stampin Up!
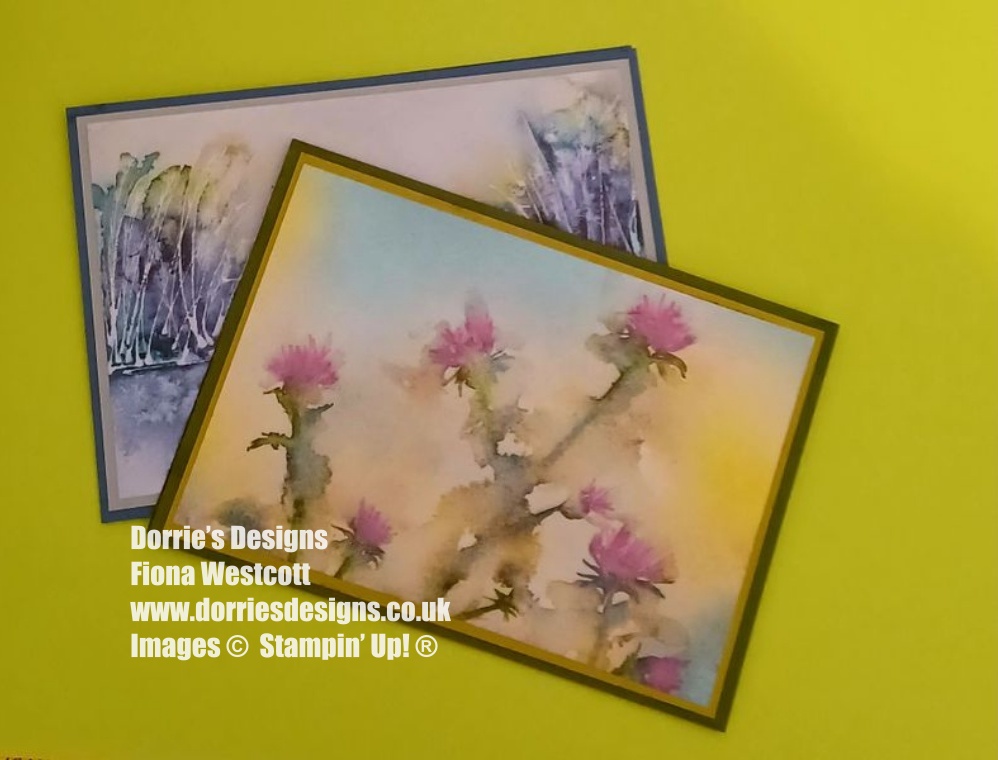
How I made my first Sympathy Greeting Card
I started with a piece of A4 Misty Moonlight cardstock and scored this at 14.85 cms along the long edge of the card. I like to score first as then when you cut it you have two card bases already made.
Then I cut it at 10.5 cms along the short edge.
I burnished the score lines with my bone folder to make nice crisp folds
Next I cut a mat layer out of Smoky Slate card stock at 14.4 cms x 10cms. I glued this to my card base.
I chose a design from the Thoughtful Journey patterned paper and cut this at 13.90 cms x 9.5 cms and glued this on top of the Smoky Slate layer.
Finally I cut a piece of Basic White cardstock 10 cms x 14.4 cms, I stamped on to it Thinking Of You sentiment from the With You In Mind Stamp set and glued this inside my card.
My card is now finished .
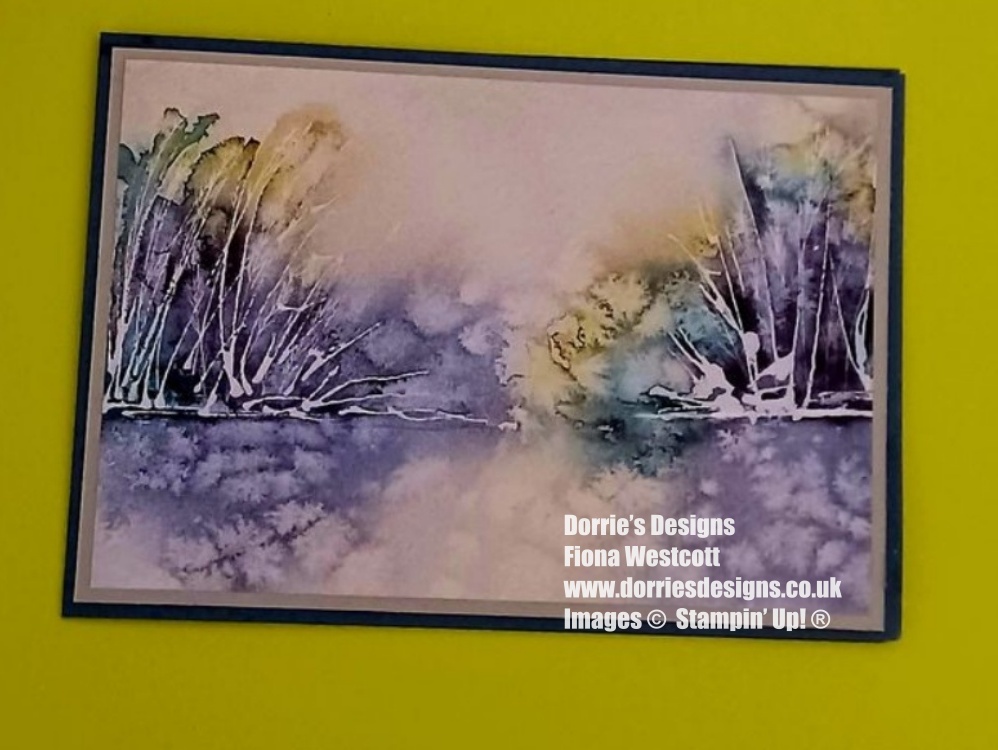
How I made my second Sympathy Greeting Card
I started with a piece of Mossy Meadow cardstock I scored this at 10.5 along the short edge and and cut this along the long edge at 14.9 cms.
Next I cut a piece of Wild Wheat cardstock 10cms x 14.4 cms and glued this on to the Mossy Meadow cardstock.
I chose my piece of paper from the Thoughtful Journeypack and cut it at 9.5cms x 13.9cms and glued this on to the Wild Wheat layer.
I cut a piece of Basic White cardstock 10 cms x 14.4, stamped the Thinking Of You sentiment from With You In Mind stamp set and glued this into the inside and my card was finished.
I’ve now written in both cards, and later today, Herbie and I will pop them into the post box during our walk.
Well, I think that’s all our news for now! If you do give these sympathy cards a try, I would absolutely love to see your creations — please share a photo. It’s always such a joy to see what you make.
Until next time, stay safe and happy crafting!.
Product List
")
 Designer Series Paper")


Free Tutorial With all Orders
When shopping through my Stampin’ Up! Online Shop, you will receive a FREE TUTORIAL of 11 simple card ideas. Learn More!
If you wish to shop with me, please click here
Thank you for shopping with me.
I am an Independent Stampin’ Up! Demonstrator for the UK, France, Germany, Ireland, Belgium, Austria, and the Netherlands.
Herbie and I would love you to shop with us. If you set up an online account with us and opt in for Stampin’ Up! Rewards for every order over £20 you will receive 10% rewards to use on your next order, or you can do like I do and save them for a future order. They soon mount up, enabling you to purchase more expensive products with your saved rewards. Please do ask if you need any help.
SUBSCRIBE TO PAPER PUMPKIN Get a different surprise kit each month through the post. The monthly subscription price also includes postage.
KITS, I particularly love the Kits as everything is included, making them ideal for the beginner crafter, the crafter with limited space, they make beautiful birthday presents and are small enough to pack to take away on holiday. There are two new kits every month.
ONLINE EXCLUSIVES These are beautiful products that aren’t in any catalogue. Check back regularly as it’s frequently updated.
Postage is a flat rate of £6.95/€7.95 on all orders.
🌟 Got a crafty wish list a mile long? Why not come and join our team, The Crafty Caterpillars! We’re building a welcoming, inclusive community where everyone’s invited to create, connect, and have fun. Whether you’re a beginner or a seasoned crafter, we’d love to craft with you—in person or online!
🎁 Right now you can grab £130 worth of products for just £99
If you need any help or have any questions, please send us a message.

Wow very good the cards are lovely you always do such lovely card can see a lot of love and care hon in the good luck fiona
Thank you so much Zoe.
Beautiful cards Fiona I have these papers they are beautiful. I love looking and getting inspiration from your cards I just wish I had the time to do more crafting
Thank you Debs, I hope one day you get to chill and do some crafting.
Fab blog. Beautiful cards. Simple enough for even me to make 😂 but very effective! Xxx
Thank you Kathy. I had fun creating them to. They could be for any occasion.