Hello everyone,
I hope you all had a happy Christmas and all your hopes and dreams come true in 2024.
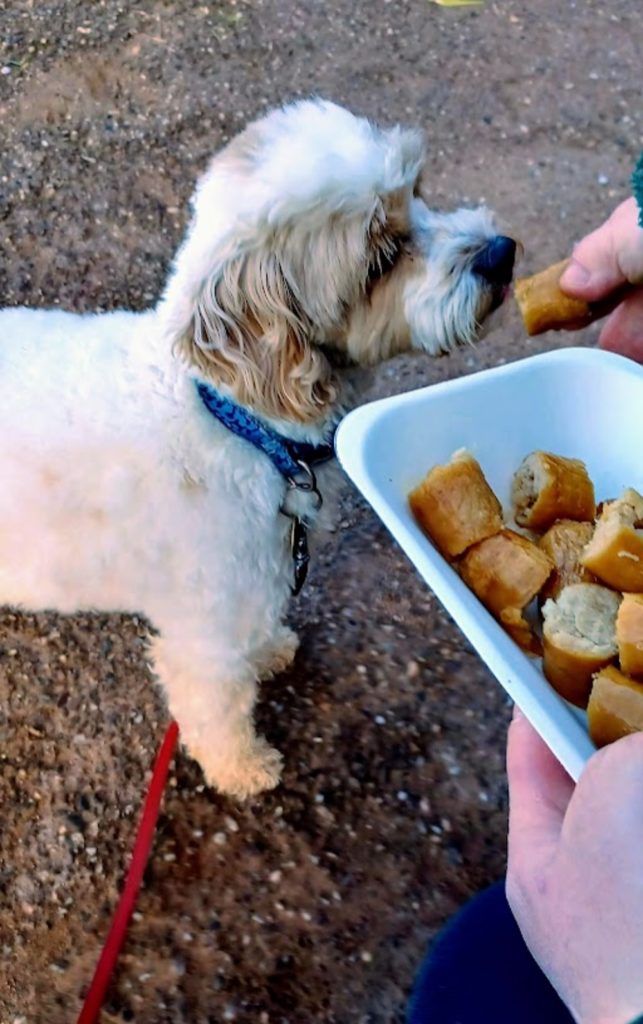
2023 taught me lots including how fragile life is and how in a blink of an eye it can be extinguished. Also due to circumstances out of my control my day job has changed to part-time as from this year. I believe everything happens for a reason and after a lot of thought I have decided it’s time to take much better care of me and enjoy the freedom so I can have lots of adventures with Mum and Herbie. Herbie’s favourite adventure is a walk with his ball at the beach with a treat of sausages at the end. It’s also time for me to spread my wings and build Dorrie’s Designs into the business I dream of.
Currently I hold one in person class a month at Chestnut Community Centre, Brixham. It’s on the second Monday of the month. We have a lovely group of ladies, we have so much fun together creating with lots of laughter. If you would like to join us please complete the form on my classes page or ping me a message it would be lovely to have some new faces join us.
Hello butterfly
I get asked frequently why I call myself a butterfly. The answer is I was born with a disability that’s rare called Apertz Syndrome and because of it I have been bullied loads. Anyone who knows me knows I am a fighther and as stubborn as a mule and I won’t let bullies win. The vision I see in my heart is to build a community/safe place where people can come and have fun and make friends without the fear of being bullied. In my mind I see a butterfly in the chrysalis waiting for the right time to emerge and spread it’s beautiful wings sharing, making people smile and having rooms full of laughter where ever the butterfly goes. I’ve been locked in the chrysalis but the time has come to soar the skies high sharing my love for creating beautiful projects with Stampin’ Up! products and building a safe haven for a community of crafters.
I have lots of goals for 2024 including finding some more venues to hold in-person classes including some during the day, Also for my friends who live the other end of the country I will be setting up online classes via zoom. I will be back with updates of where and when these will be held soon.
The adventure is just beginning………
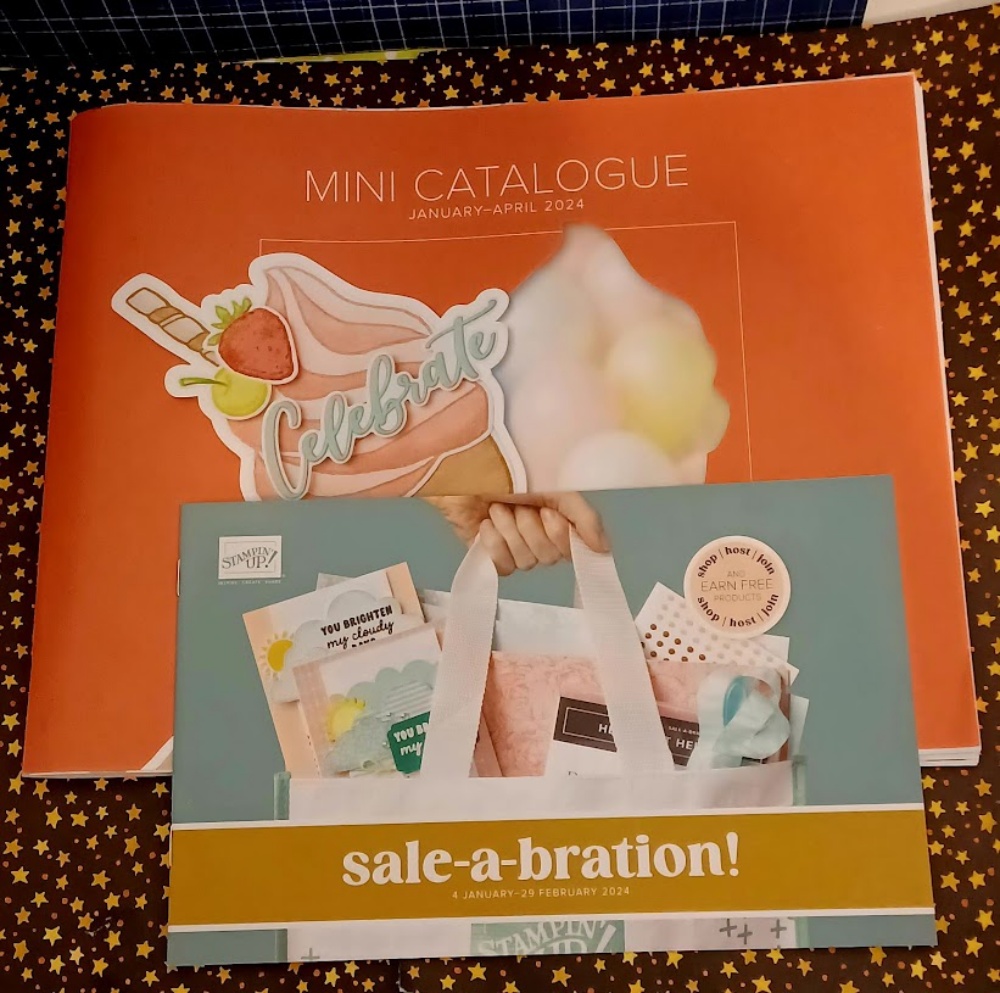
New Spring Mini Catalogue and free products in the Sale-a-bration! catalogue
The new mini catalogues have arrived. If you would like one and you live in the UK, France, Germany, Austria, Ireland, Belguim and The Netherlands, please send me a message and I will pop one in the post to you. It’s an exciting time of year as during January and February for every £45.00 you spend you can get free products in the Salabration catalogue.
Crafting inspiration
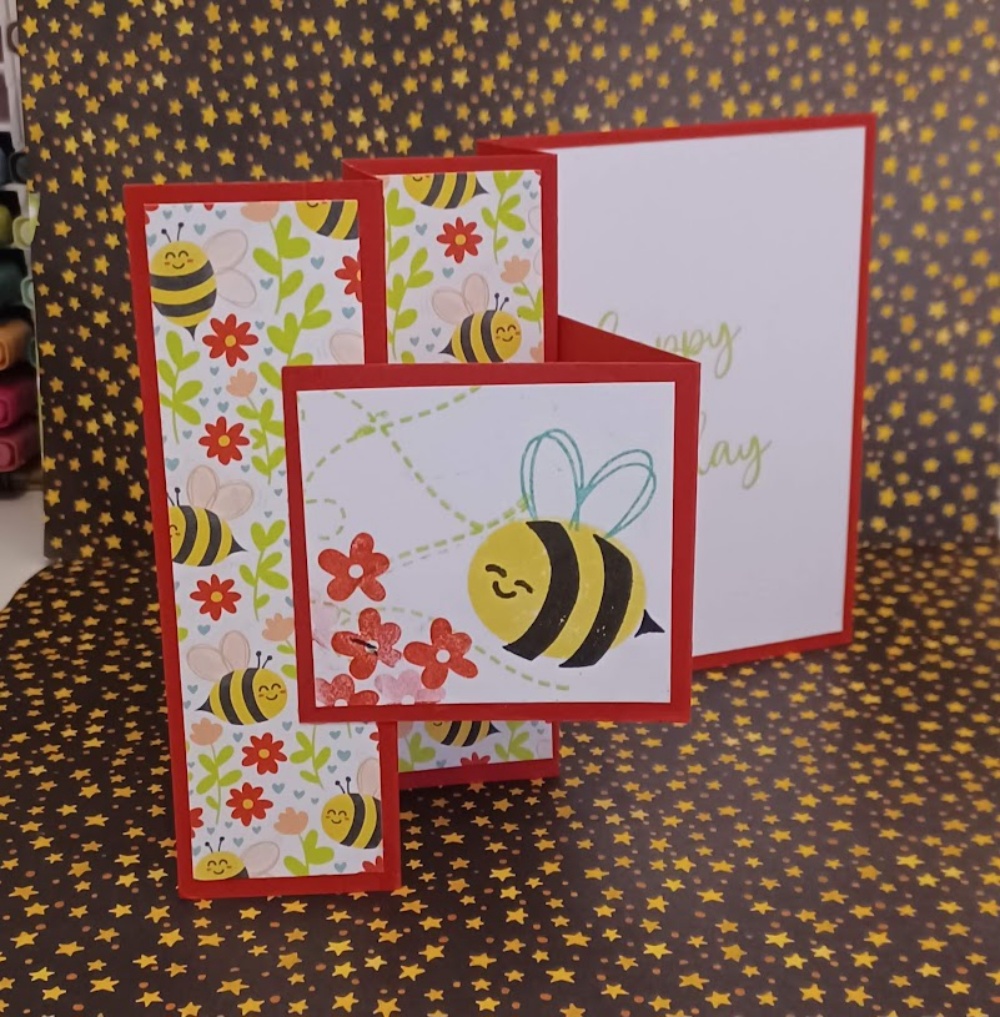
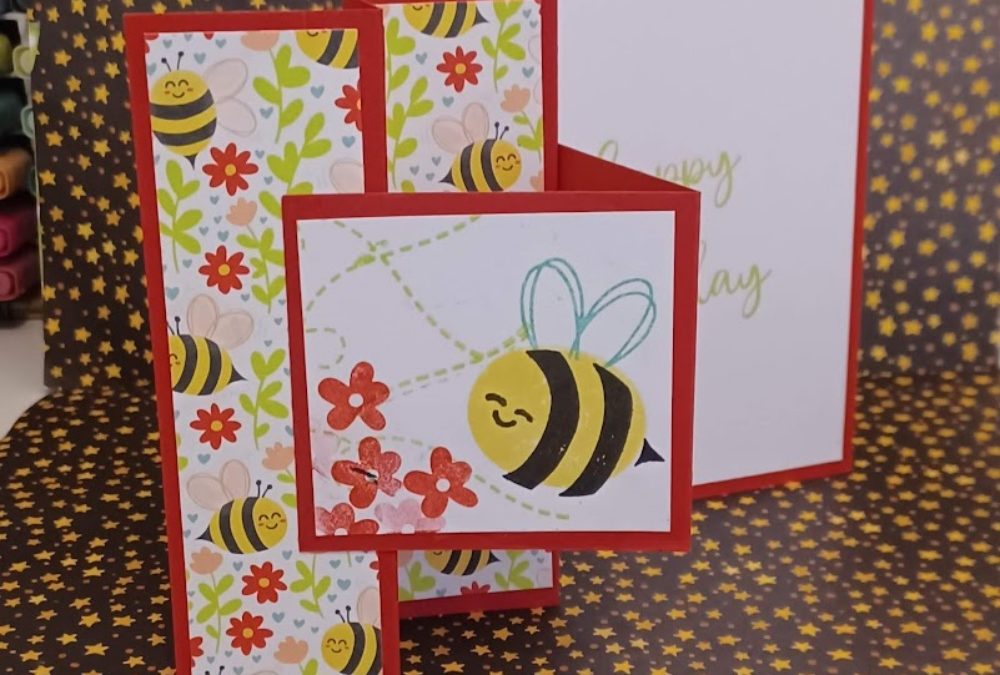
Now for some crafting inspiration. I don’t know about you but I have some months with few birthdays and others with loads of birthdays. January is a month for me where I have loads of birthday cards to make. This is a special card I made for a friend.
The recipe to create a fun fold WV card.
- Cut a piece of card stock 11 inches by 5½ inches.
- Put it in the trimmer landscape and score at 1¾ inches, 3½ inches, 5¼ inches and 7 inches.
- Then burnish the score lines. They go mountain, valley, mountain, valley.
- Now you need to cut 4 pieces or contrasting patterned paper 5¼ inches by 1½ inches . Stick these onto the mountain and valley folded bits.
- Now you need a piece of card stock 6 inches x 3 inches. Score this at 3 inches
- Cut a piece of white card stock 2 ¾ x 2¾ . Decorate this and stick it onto the left side of the panel. on the right side cut a piece of white card stock 2¾ x 2¾ then emboss or stamp on a piece of coloured cardstock 2½ x 2½ and stick this on the white piece. Stick to right side of the 6 x 3 piece.
- Cut a piece of white card stock 3¾ x 4¾. Stick this on the right side panel of the card.
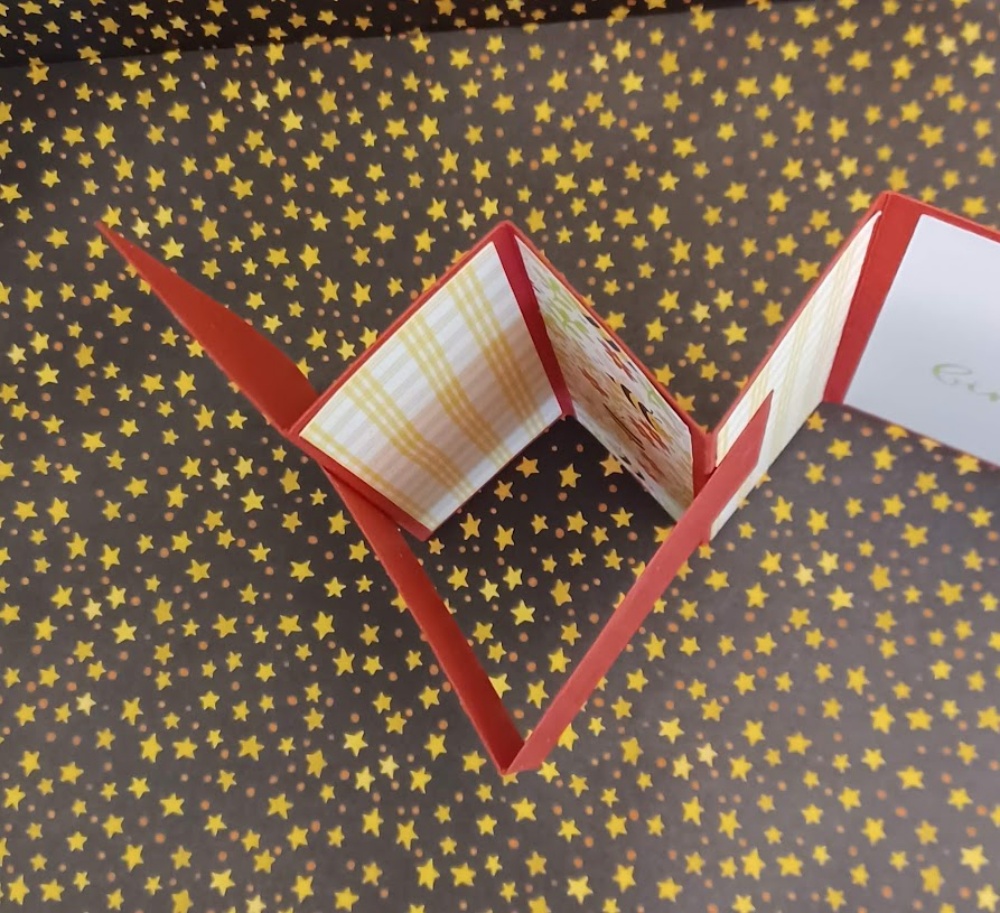
- Now fold the 6 x 3 panel in half and put the folded edge against the right side of the card so that it covers the white piece we just stuck. With the mountain and valleys folded . Apply a thin line of glue and stick to the edge of the inside mountain fold
- Now fix the remaining side to the outside of the first mountain fold. and stick.
- I now stamped my sentiment so that when the card is closed it is hidden under the 6×3 piece.
- If you look from the top it should look like a W and a V hence being called the WV fold.
I hope you enjoy creating this card. I think that’s it from me. I promise i will be back soon with some more crafty inspiration.
Until stay safe and happy crafting
Fiona
Product list
Free Tutorial With all Orders
When shopping through my Stampin’ Up! Online Shop, you will receive a FREE TUTORIAL of 11 simple card ideas. Learn More!
If you wish to shop with me, please click here
Thank you for shopping with me.
I am an Independent Stampin’ Up! Demonstrator for the UK, France, Germany, Ireland, Belgium, Austria, and the Netherlands.
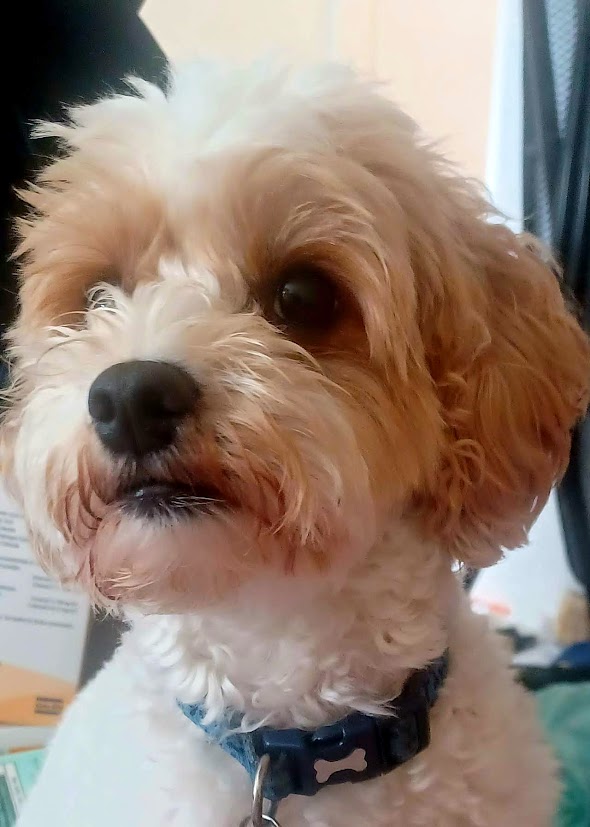
Herbie and I would love you to shop with us. If you set up an online account with us and opt in for Stampin’ Up! Rewards for every order over £20 you will receive 10% rewards to use on your next order, or you can do like I do and save them for a future order. They soon mount up, enabling you to purchase more expensive products with your saved rewards. Please do ask if you need any help.

KITS, I particularly love the Kits as everything is included, making them ideal for the beginner crafter, the crafter with limited space, they make beautiful birthday presents and are small enough to pack to take away on holiday. There are two new kits every month.
ONLINE EXCLUSIVES These are beautiful products that aren’t in any catalogue. Check back regularly as it’s frequently updated.
LAST CHANCE PRODUCTS – These are products about to retire. There’s up to 60% off normal prices, while stocks last. Why not grab yourself a bargain
Postage is a flat rate of £6.95/€7.95 on all orders.
🌟 Got a crafty wish list a mile long? Why not come and join our team, The Crafty Caterpillars! We’re building a welcoming, inclusive community where everyone’s invited to create, connect, and have fun. Whether you’re a beginner or a seasoned crafter, we’d love to craft with you—in person or online!
🎁 Right now you can grab £130 worth of products for just £99
If you need any help or have any questions, please send us a message.



what a beautiful card ? and thank you for the instructions ?
Thank you Cary, I hope you have fun creating it.
Brilliant. I love your blog, explanation and WV card. I look forward to trying it out. I send blessings for the stretching of your wings this year.
Thank you Kate, I would love to see your card. I hope 2024 is a good year for you to.
what beautiful words. Now is definitely a time to set your goals and flutter. The card is absolutely amazing
Thank you so much.
Fantastic little butterfly. I am so very proud to know you and know too that you will definitely succeed at whatever you put your mind to.
Your card is sooo gorgeous! Love it xxx Gill
Thank you Gill. I am really excited and love learning.
What a lovely blog to read, your warmth and passion for for crafting really shines through.
I know that you will always be welcoming to anyone, so if you fancy a bit of crafting in a supportive group. Drop Fiona a message.
Thank you Carrie, You are right everyone is welcome. I love sharing and creating.
Love this! You and Herbie make a great team and I’ve seen you go from strength to strength since you became his mummy!
You keep going you can do anything you put your mind too !
Thank you Karen,
Well done Fiona that’s a very good blog I will try the card out soon. With your determination I am sure you will fly high little butterfly.
Thank you Pat. I would love to see what you create.
great blog post Fiona, so lovely to read your story and see your journey unfold.
Thank you so much Heather. 2024 is going to be my year to fly high
What a lovely and inspirational post! You are fabulous, as is your card. Not seen this fold before. I hope you don’t mind if I case?
Thank you Leighsa for all your support and giving me the confidence to get this far on the witing blogs journey. I would be honoured if you cased it. Oh wow you have just made my day. Thank you so much.
I really enjoyed reading your blog and wish you all the best in 2024.
Love the card, I’m going to make one. Thank you.
Thank you Jan. I hope 2024 is a good year for you to. I would love to see your card. Have a great day.
Beautiful blog post! I am sad that you have been bullied. Love your words and the beautiful card!!!
Thank you Kristie.
Fab blog Fiona, well done, looking forward to see what you create this year
Thank you so much Denise. I hope it’s a good year for you to