
Welcome to this month’s Build & Bloom Stampers Blog Hop
This month’s theme is Floral Greeting Cards
Hello Everyone,
I’m so excited to be joining in with this month’s Build & Bloom Stampers blog hop, where the theme this month is to create a Floral Greeting Card.
I rejoined Stampin’ Up! as a demonstrator last November, and I’m currently taking part in a challenge for new demonstrators to send out three cards each week. Since I needed some thank you cards, it felt like the perfect opportunity to make a few for today’s blog hop.
With the weather doing nothing but raining for days, I wanted to design something bright and uplifting — something that would make people smile when it arrived through their letterbox. I’ve always loved rainbows, as they remind me that brighter days are ahead, and warmer weather will return.
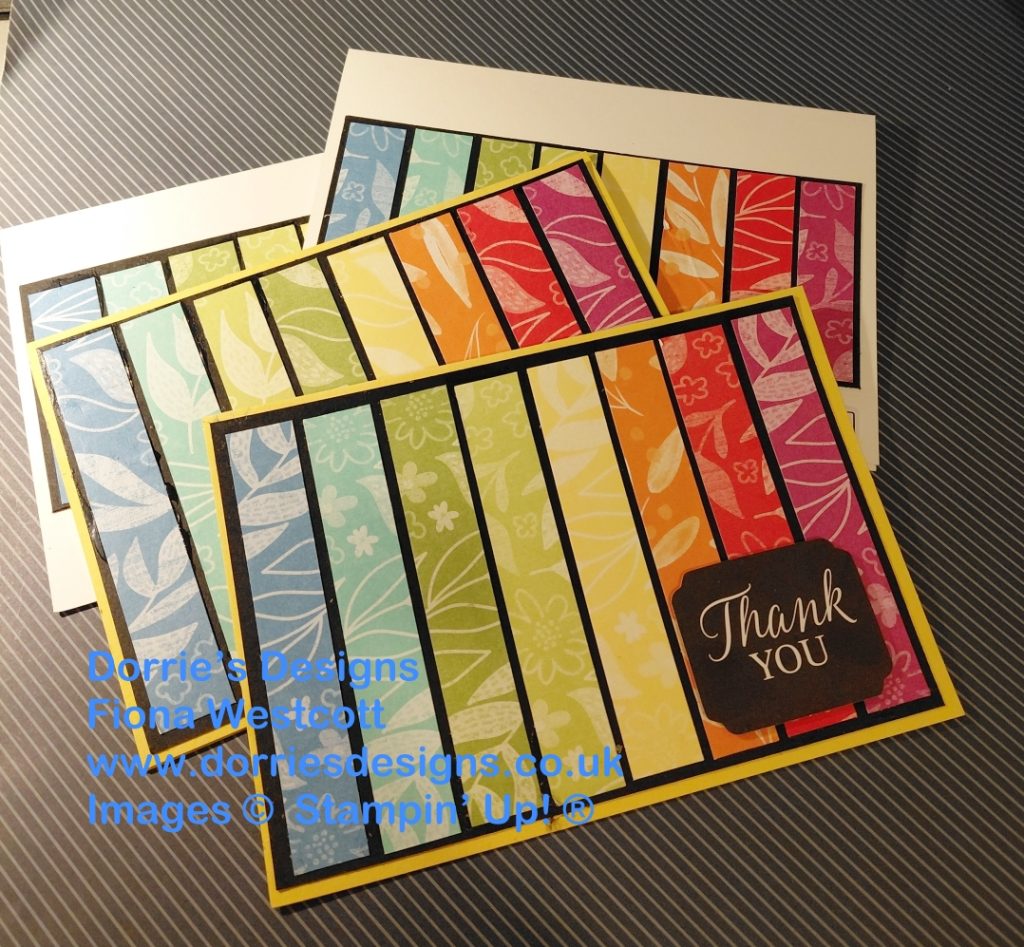
How I made my Bright Floral Thank You Cards
I started by choosing my patterned paper. Stampin’ Up! groups its colours into four main families—Regals, Brights, Neutrals and Subtles. Anyone who knows me will tell you I’m always drawn to bright, cheerful shades, so I picked one sheet from each colour in the Brights 2025/2026 patterned paper pack to create my rainbow‑themed floral thank you cards.
Next, I cut each sheet into 1.5 cm strips, then trimmed those strips down to 9.5 cm lengths. I set the leftover pieces aside for my next batch of Bright Floral Thank You cards.
For the background, I cut a piece of Basic Black card stock to 10 cm along the short edge, then trimmed it to 14.4 cm, giving me two panels—one for each card.
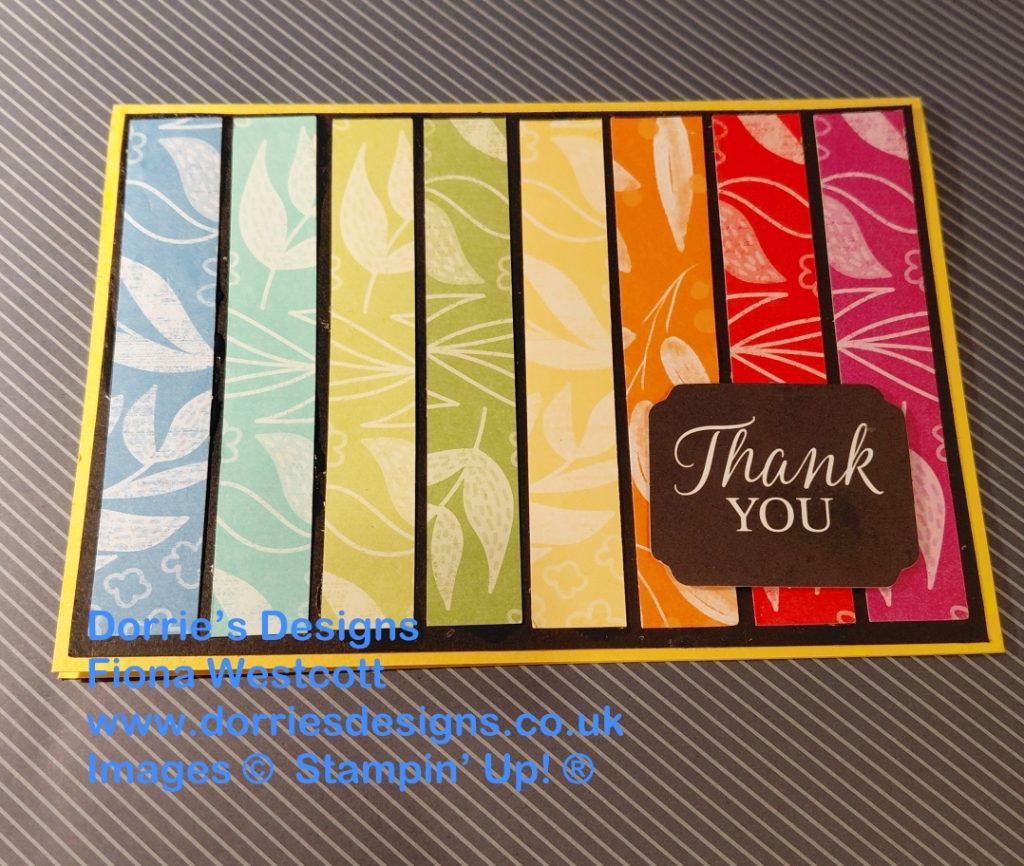
I arranged my colourful strips in rainbow order and adhered them to the Basic Black panel.
Next, I scored a piece of Daffodil Delight card stock at 10.5 cm along the short edge, then rotated it and cut it at 14.85 cm. Scoring first is my favourite shortcut because it gives me two card bases in one go. I glued the completed Basic Black layer onto the Daffodil Delight base.
To finish I cut a piece of Basic White card stock at down the long side at 14.4 cms and then cut it at 10 cms and then cut the bigger piece at 10 cms, so I had two Basic White pieces for the insides of my cards.
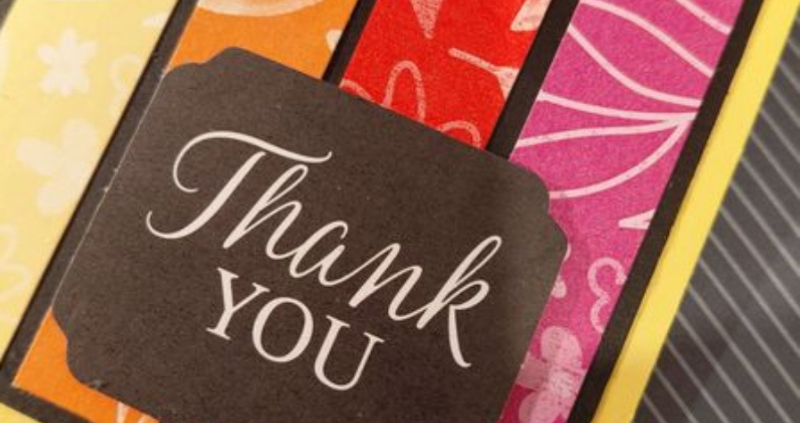
I added a Thank You sentiment from the Greetings For All mix and match ephemera pack and my first two cards were finished, ready to be written in and put in envelopes and posted when Herbie and I went out for a walk.
My first two Bright Floral Thank You Cards.
How I made my second two Bright Floral Thank you cards
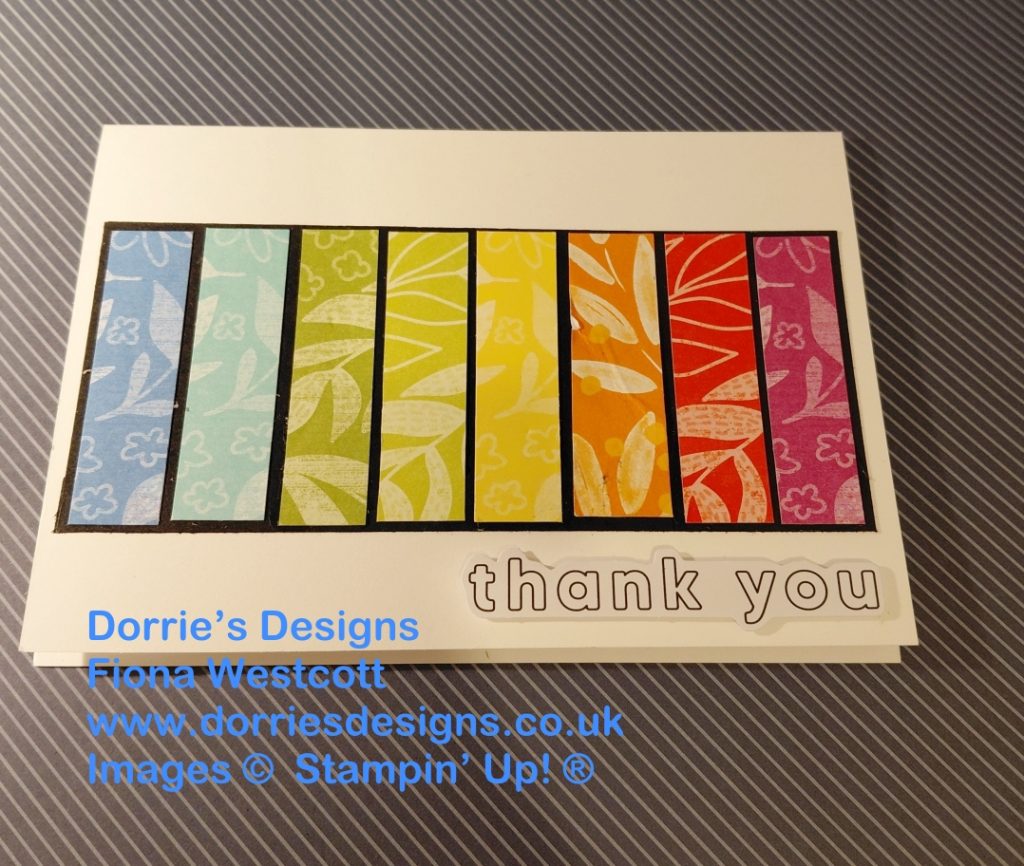
For my second two Bright Floral Thank You cards I started by cutting the remainder of the piece of Basic Black card stock I had used for my first two cards and cut this at 6.25 cms x 14.4 cms.
I sorted the remaining little pieces of bright coloured patterned paper in a rainbow order and glued these on to the piece of Basic Black card stock.
I scored a piece of Thick Basic White card stock at 10.50 cms down the short edge and cut down the long edge at 14.85 cms.
I glued the Basic Black layers on to the card bases.
I added a Thank You sentiment from the Greetings For All mix and match ephemera pack and my second two cards were finished, ready to be written in and put in envelopes and posted when Herbie and I went out for a walk.
My second two Bright and Floral Thank You cards
My completed Bright Floral Thank You cards
I had so much fun on a wet and cold afternoon creating my Bright Floral Thank You cards for this month’s Build & Bloom Blog Hop. I hope my projects inspire you to try one yourself.
Please do share your makes, it’s always such a joy to celebrate creativity together!
Well, that’s it from me today, it’s time for me to persuade Herbie we really should go out for a walk before it gets dark. He’s currently hiding in his den under the settee hoping I may have forgotten about a walk as it has been hammering it down all day.
Until next time, stay safe and happy crafting.
Please click on the names below to visit each website and see what lovely projects my other friends in the Build&Bloom Academy Group have designed for their Floral blog hop. Please do leave comments as you visit each one.
Thank you.
Blog Hop List
Product list
![Brights 6" X 6" (15.2 X 15.2 Cm) Designer Series Paper [ 165301 ]](https://assets1.tamsnetwork.com/images/EC042017NF/165301s.jpg "Brights 6\" X 6\" (15.2 X 15.2 Cm) Designer Series Paper [ 165301 ]")
![Daffodil Delight A4 Card Stock [ 121680 ]](https://assets1.tamsnetwork.com/images/EC042017NF/121680s.jpg "Daffodil Delight A4 Card Stock [ 121680 ]")
![Basic White A4 Cardstock [ 166781 ]](https://assets1.tamsnetwork.com/images/EC042017NF/166781s.jpg "Basic White A4 Cardstock [ 166781 ]")
![Basic White A4 Thick Cardstock [ 159230 ]](https://assets1.tamsnetwork.com/images/EC042017NF/159230s.jpg "Basic White A4 Thick Cardstock [ 159230 ]")
![Basic Black A4 Card Stock [ 121688 ]](https://assets1.tamsnetwork.com/images/EC042017NF/121688s.jpg "Basic Black A4 Card Stock [ 121688 ]")
![Basic White C6 Envelopes [ 159235 ]](https://assets1.tamsnetwork.com/images/EC042017NF/159235s.jpg "Basic White C6 Envelopes [ 159235 ]")
![Paper Trimmer [ 152392 ]](https://assets1.tamsnetwork.com/images/EC042017NF/152392s.jpg "Paper Trimmer [ 152392 ]")
![Bone Folder [ 102300 ]](https://assets1.tamsnetwork.com/images/EC042017NF/102300s.jpg "Bone Folder [ 102300 ]")
![Greetings For You Mix & Match Ephemera Pack (English) [ 166208 ]](https://assets1.tamsnetwork.com/images/EC042017NF/166208s.jpg "Greetings For You Mix & Match Ephemera Pack (English) [ 166208 ]")
![Stampin' Dimensionals [ 104430 ]](https://assets1.tamsnetwork.com/images/EC042017NF/104430s.jpg "Stampin' Dimensionals [ 104430 ]")
Free Tutorial With all Orders
When shopping through my Stampin’ Up! Online Shop, you will receive a FREE TUTORIAL of 11 simple card ideas. Learn More!
If you wish to shop with me, please click here
Thank you for shopping with me.
I am an Independent Stampin’ Up! Demonstrator for the UK, France, Germany, Ireland, Belgium, Austria, and the Netherlands.
Herbie and I would love you to shop with us. If you set up an online account with us and opt in for Stampin’ Up! Rewards for every order over £20 you will receive 10% rewards to use on your next order, or you can do like I do and save them for a future order. They soon mount up, enabling you to purchase more expensive products with your saved rewards. Please do ask if you need any help.


KITS, I particularly love the Kits as everything is included, making them ideal for the beginner crafter, the crafter with limited space, they make beautiful birthday presents and are small enough to pack to take away on holiday. There are two new kits every month.
ONLINE EXCLUSIVES These are beautiful products that aren’t in any catalogue. Check back regularly as it’s frequently updated.
LAST CHANCE PRODUCTS – These are products about to retire. There’s up to 60% off normal prices, while stocks last. Why not grab yourself a bargain
Postage is a flat rate of £6.95/€7.95 on all orders.
🌟 Got a crafty wish list a mile long? Why not come and join our team, The Crafty Caterpillars! We’re building a welcoming, inclusive community where everyone’s invited to create, connect, and have fun. Whether you’re a beginner or a seasoned crafter, we’d love to craft with you—in person or online!
🎁 Right now you can grab £130 worth of products for just £99
If you need any help or have any questions, please send us a message.


Fabulous rainbow cards Fiona!
Thank you so much Carol.