
Welcome to this months Tech4Stampers Academy Blog Hop.
This months theme is: Make a card for a birthday.
Hello Everyone,
I am taking part in this months Tech4stampers Academy blog hop. The theme this month is to make a card for a birthday. I seem to have lots of friends who have a birthday in September. One of my favourite go to stamp bundles from Stampin’ Up! for birthday cards is called Cheerful Daisies.
My inspiration for todays Cheerful Daisies birthday card
I love my garden and when Herbie and I are walking the long way around to Mum’s house whilst he’s sniffing the ground at every opportunity I love looking at the gardens to get inspiration for my garden, specially in the Spring and Summer when all the flowers begin to bloom. Some of my favourite flowers are Gerberas, Black Eyed Susan and Echinacea. I didn’t know until this year there is a green cornflower otherwise known as Echinacea. My inspiration for today’s card came from some of the flowers we saw on our walk.
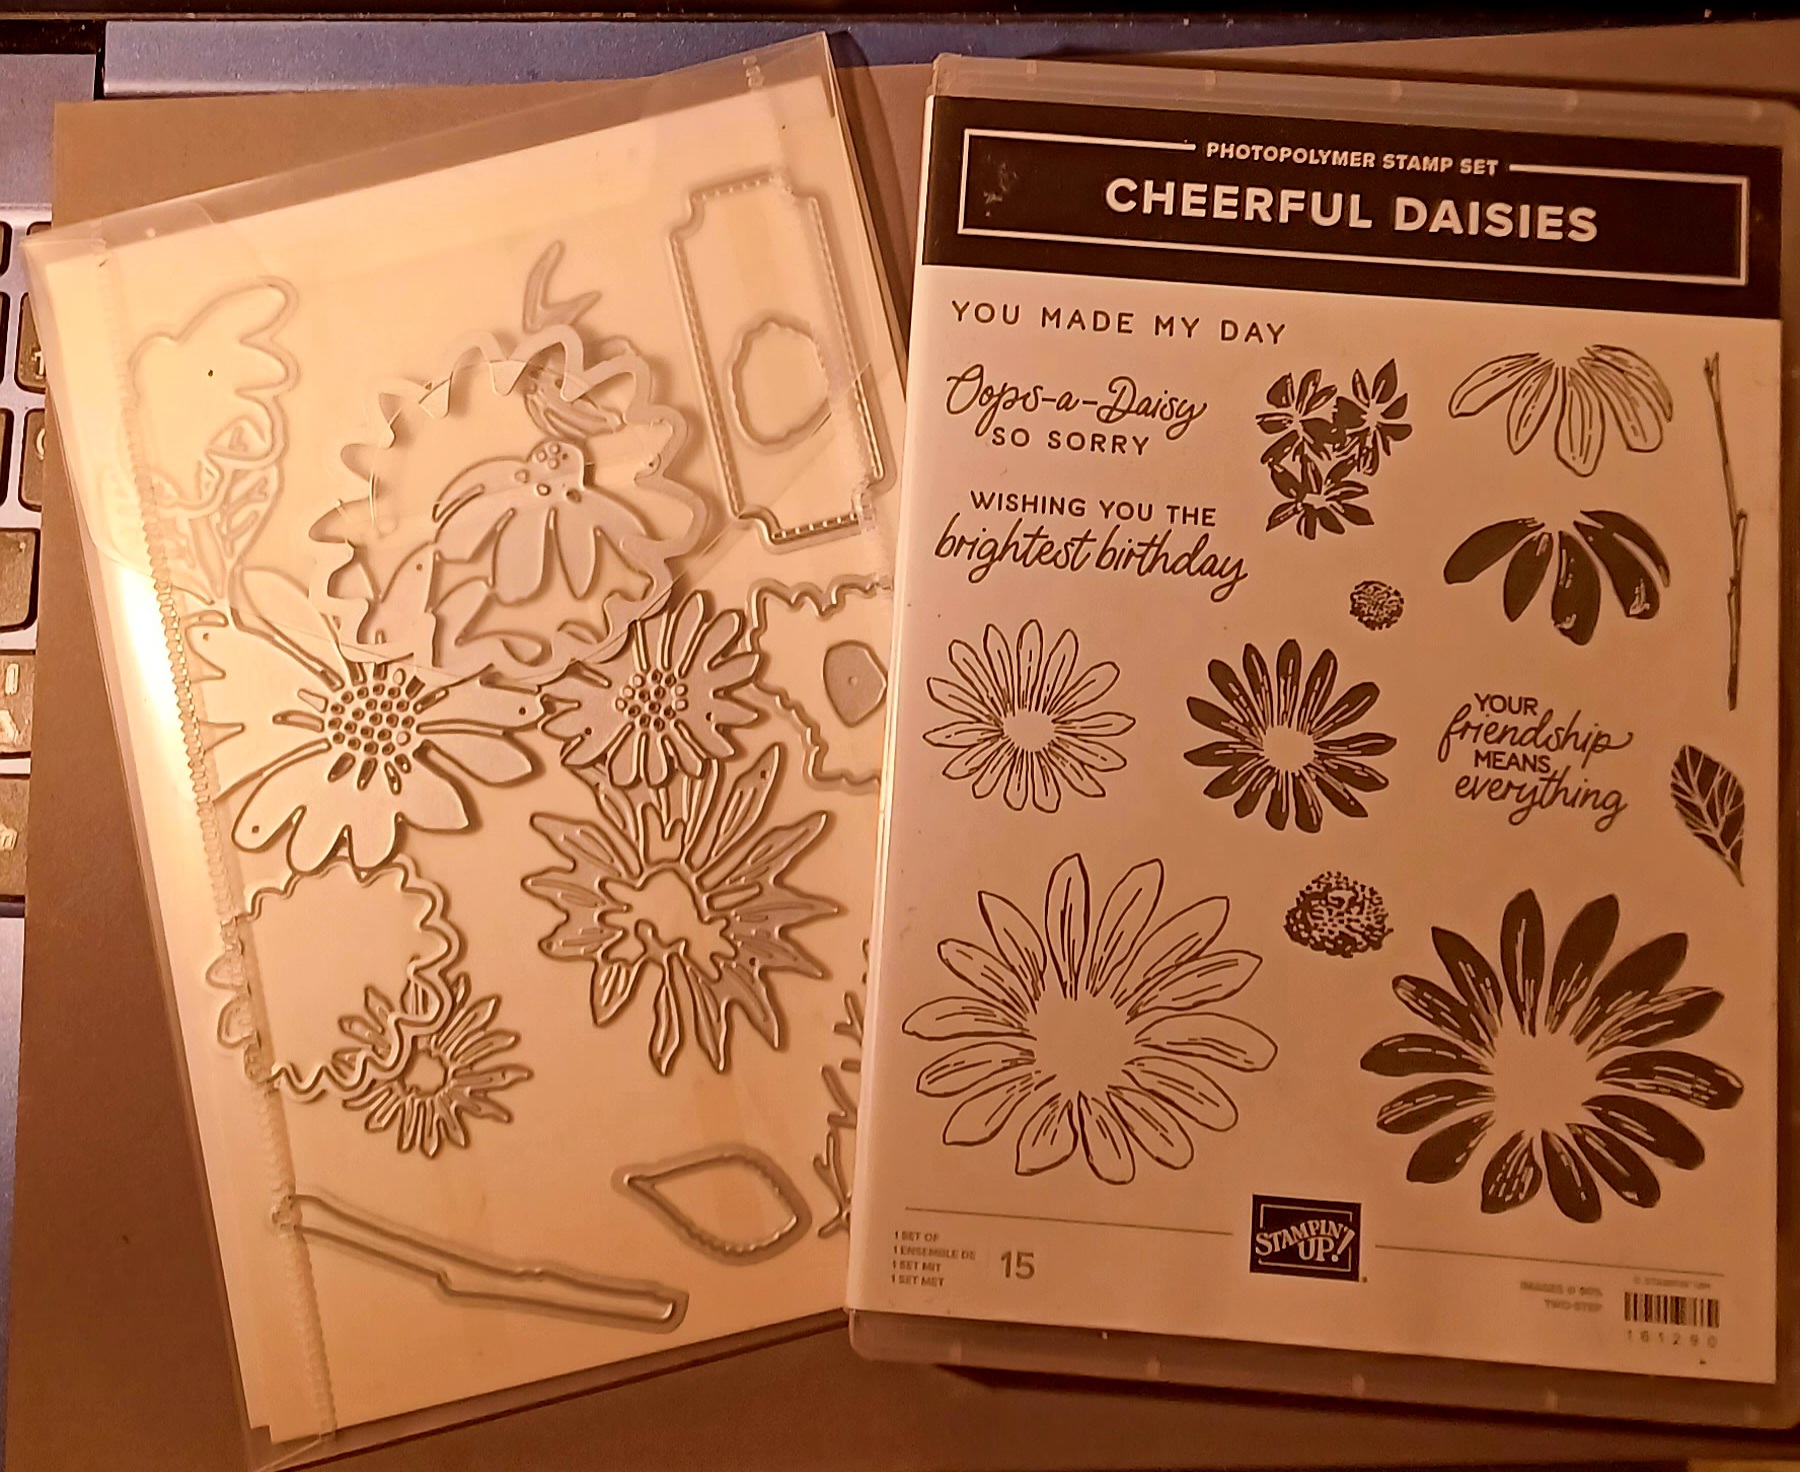
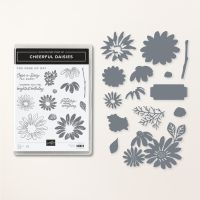
Cheerful Daisies stamp set and dies
This is the Cheerful Daisies stamp set and dies. It’s one of my favourite bundles from Stampin’ Up!. I can see so many reasons to create a card using it for all sorts of occasions.
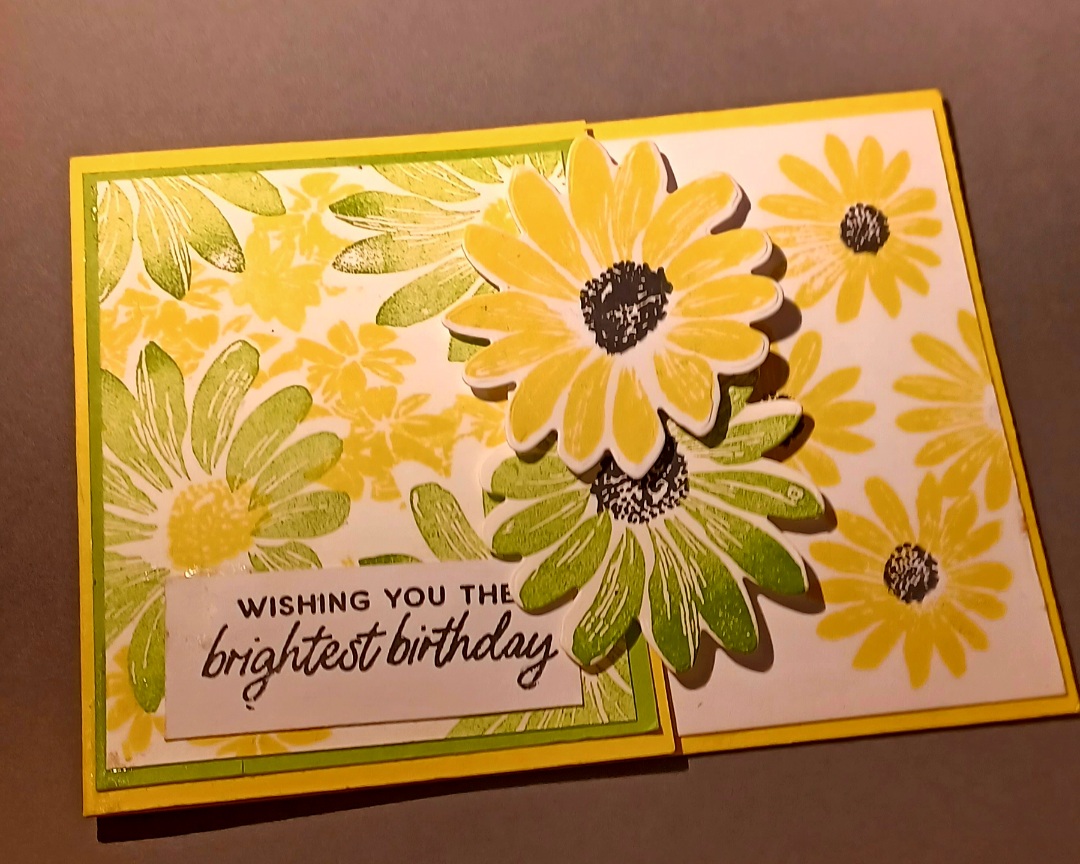
How I created my birthday card using the Cheerful Daisies Bundle from Stampin’ Up!
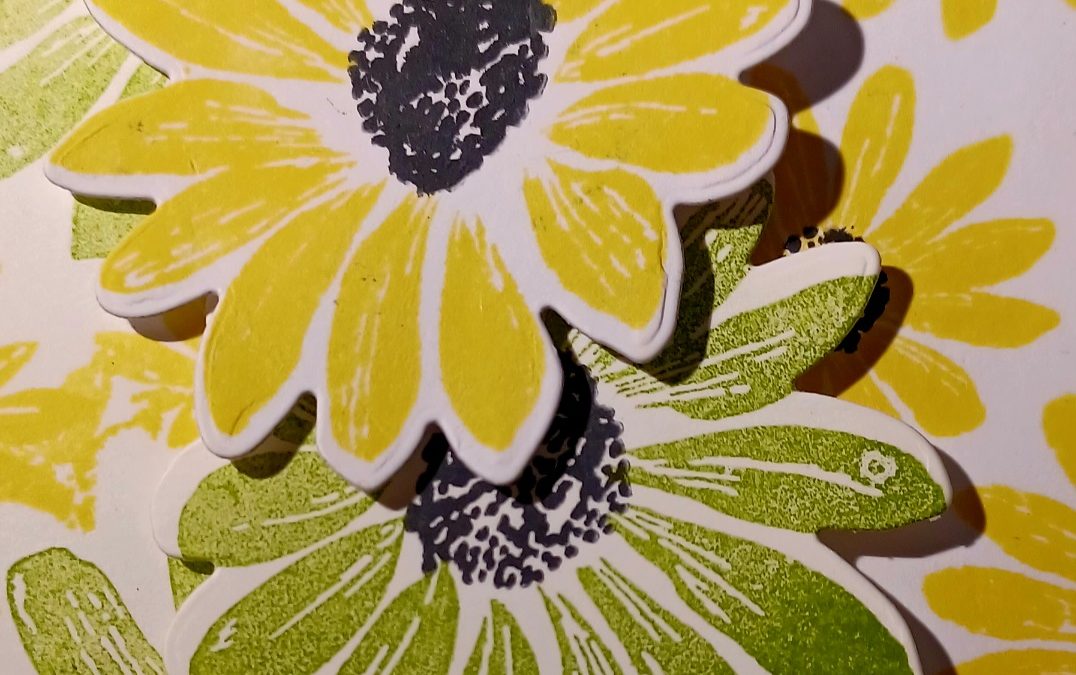
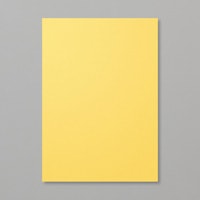
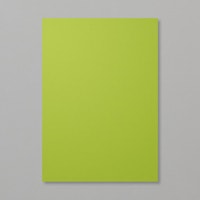
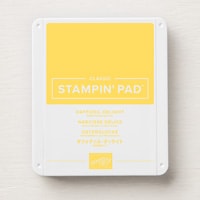
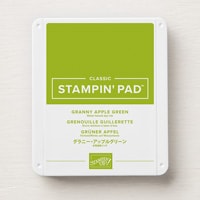
I started by making my card base. As I am in the UK I used a piece of Daffodil Delight A4 card which I cut at 29 cms. scored at 14.50 cms and cut at 10.50 cms. I like to score first as by scoring first you can make two card bases out of one sheet of A4 card at the same time, saving time when you are making a batch of cards. I cut the little bit off the long edge to start with so it would be easier to work out my measurements. Next I cut a Basic White layer 10cms x 14.00 cms and stamped the daisies on the right side using Daffodil delight ink and Basic black ink. I stuck this on the inside of the card. I then cut the front flap at 8.50 cms. I cut two pieces of my contrasting colour which was Granny Apple Green at 10 cms x 8cms and stuck these on. One on the front and the other on the inside flap. Next I cut a piece of Basic White card 9.50 x 7.50cms. I randomly stamped green daisies. Using some Post It notes I stamped some more daisies and fussy cut these out and stuck them over the daisies I have stamped. With the little blotchy stamp I stamped randomly in Daffodil Delight between the green Daisies. I then stamped the middles of the green daisies in Daffodil Delight. I stamped and die cut a yellow and green daisy. Gave them both and the three on the inside a black centre. I stamped my sentiment on a scrap piece of basic white and stuck it to the front of the card. For the token pocket I used a piece of Daffodil Delight 6cms x 9.50 cms and cut using on of the small dies out of the layering circle dies I cut half a hole to make it easier to get the gift token out.
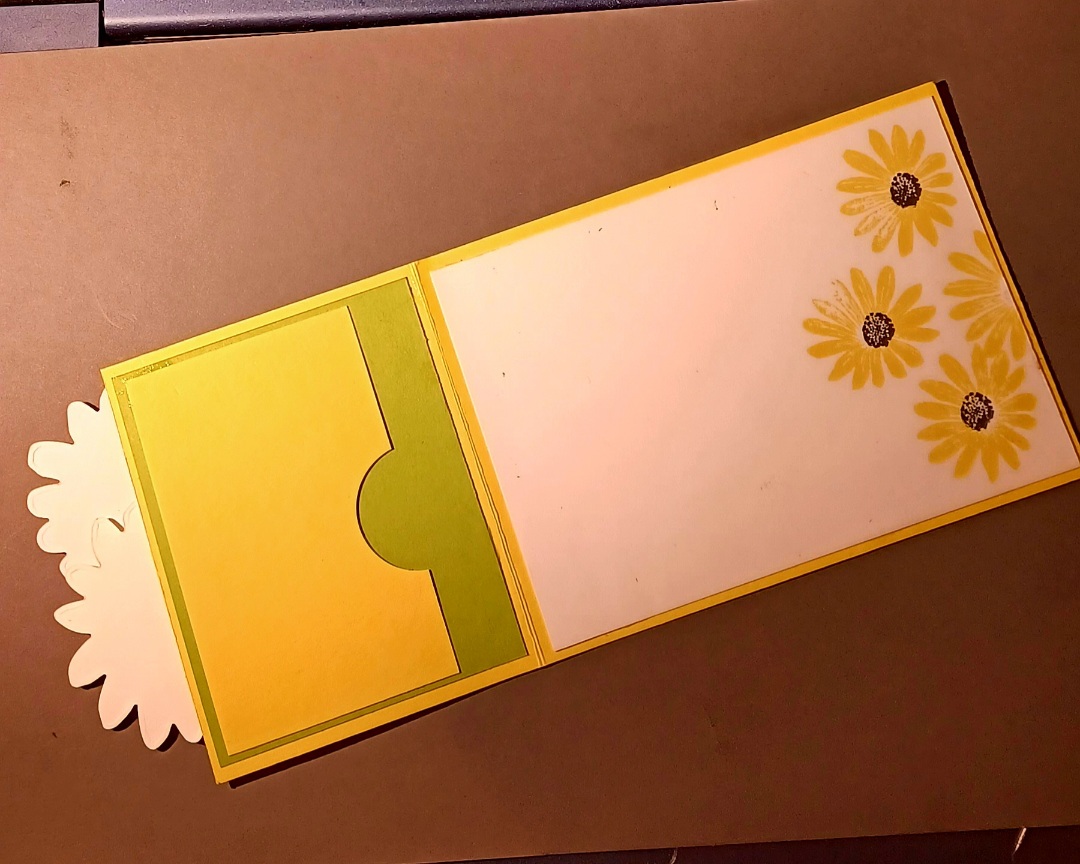
I loved how my gift token birthday card turned out. I have popped it in an envelope and its all ready for Herbie and I to pop into a post box on our walk .
I hope I inspired you to sit and create a birthday card with a pocket for a gift token using the Cheerful Daisy bundle from Stampin’ Up!. I would love to see what you create so please do share.
Well that’s it from me today, Herbie has been waiting patiently for his walk, it’s a glorious sunny day here so we are off out on an adventure with Mum..
Until next time stay safe and happy crafting
Fiona and Herbie
Please click on the names below to visit each website and see what lovely projects my other friends in the Tech4Stampers Academy Group have designed for their making a card for a birthday blog hop. Please do leave comments as you visit each one.
Thank you.
Blog Hop List
Product list
Free Tutorial With all Orders
When shopping through my Stampin’ Up! Online Shop, you will receive a FREE TUTORIAL of 11 simple card ideas. Learn More!
If you wish to shop with me, please click here
Thank you for shopping with me.
I am an Independent Stampin’ Up! Demonstrator for the UK, France, Germany, Ireland, Belgium, Austria, and the Netherlands.
Herbie and I would love you to shop with us. If you set up an online account with us and opt in for Stampin’ Up! Rewards for every order over £20 you will receive 10% rewards to use on your next order, or you can do like I do and save them for a future order. They soon mount up, enabling you to purchase more expensive products with your saved rewards. Please do ask if you need any help.


KITS, I particularly love the Kits as everything is included, making them ideal for the beginner crafter, the crafter with limited space, they make beautiful birthday presents and are small enough to pack to take away on holiday. There are two new kits every month.
ONLINE EXCLUSIVES These are beautiful products that aren’t in any catalogue. Check back regularly as it’s frequently updated.
LAST CHANCE PRODUCTS – These are products about to retire. There’s up to 60% off normal prices, while stocks last. Why not grab yourself a bargain
Postage is a flat rate of £6.95/€7.95 on all orders.
🌟 Got a crafty wish list a mile long? Why not come and join our team, The Crafty Caterpillars! We’re building a welcoming, inclusive community where everyone’s invited to create, connect, and have fun. Whether you’re a beginner or a seasoned crafter, we’d love to craft with you—in person or online!
🎁 Right now you can grab £130 worth of products for just £99
If you need any help or have any questions, please send us a message.







Fiona love your card! So cheerful!
Thank you very much Diane
wow love the colours and the freshness of your beautiful card ? and your post is , as always, a joy to read xx
Thank you Cary.
Beautiful Fiona.
Thank you Carol
love the bright colours,
Thank you Sue. I had so much fun creating it
Love the hidden pocket for the gift card – tfs.
Thank you Elaine